A Step-by-Step Guide to Creating & Promoting Your Content Upgrade
Featured Download: 3 Ways to Get More From Your Content Upgrades Here’s what you will learn in this post: What a content upgrade is How to choose your content upgrade topic How to create and deliver your upgrade 3 Ways to get the most from your upgrade A content upgrade is simply a piece of…

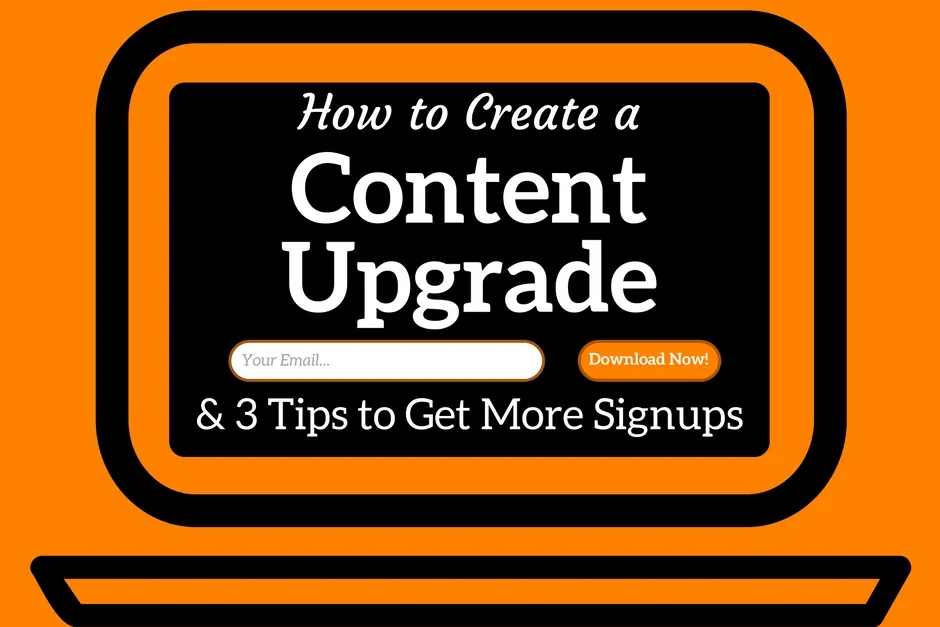
Featured Download: 3 Ways to Get More From Your Content Upgrades
Here’s what you will learn in this post:
- What a content upgrade is
- How to choose your content upgrade topic
- How to create and deliver your upgrade
- 3 Ways to get the most from your upgrade
A content upgrade is simply a piece of bonus content, like an eBook, template, or guide, that is a direct “upgrade” to the content your visitor is currently reading or listening to.
Unlike traditional site-wide lead magnets, a content upgrade is specific to the piece of content your visitor is currently consuming.
For example, if you visit my post about how to create a content calendar, you’ll see a spot where you can enter your email in exchange for a free content calendar template download.
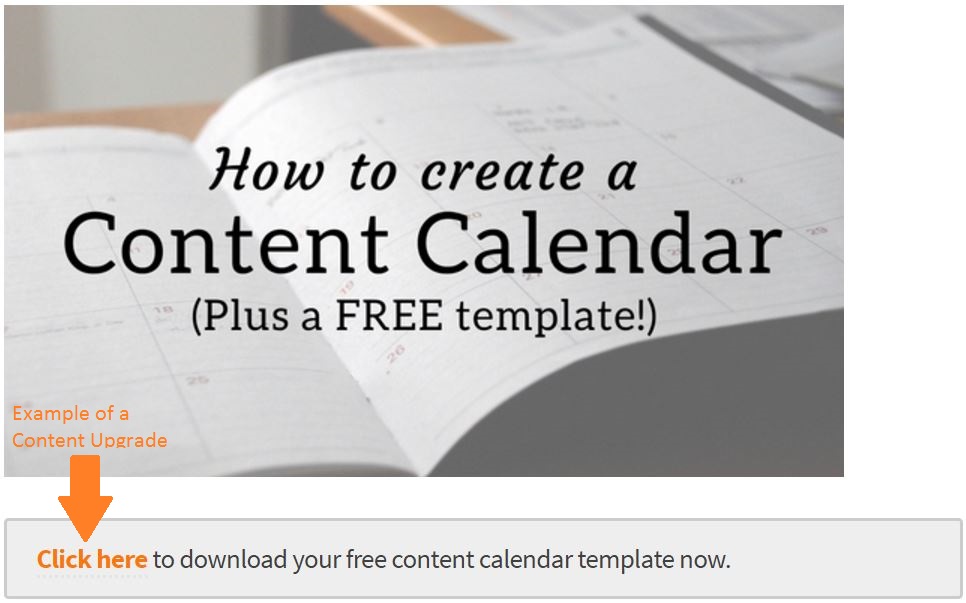
The template is directly related to the article. It makes sense as a direct “upgrade” to that specific content.
What a content upgrade is not is a site-wide lead magnet, meaning a free download in exchange for an email address which stays the same no matter which page of the site you’re on.
The reason content upgrades work so well is because they’re directly relevant to your reader at the time they’re reading your content, whereas a site-wide lead magnet may not be relevant to them when they first find you.
(Want to learn how to get more subscribers and blog traffic? Read this SEO case study where I walk you through content marketing strategy, step by step.)
How to choose a Content Upgrade Topic
Look at the content you already have. Are there any topics you can expand upon, or add a great resource like a cheat sheet or checklist?
The key is to create content upgrades that are highly relevant to the topic you choose.
Personally, I like to create blog posts with a content upgrade already in mind before I even start writing. This makes it easy to implement the upgrade into the content seamlessly.
Hopefully, you have a list of topics ready to go already. If not, go brainstorm some ideas and come back to this.
Once you’ve got your main content idea, think about what would make sense as a content upgrade.
If you’re writing a post about certain exercises, create a printout so your visitor can record their workouts using those exercises. If you’re writing about healthy recipes, create a printout of the recipes.
Pro Tip: The upgrade doesn’t need to be in the form of content, either! If you’re a business selling a product, your upgrade could be a free trial or a discount on your product. For example, Design Hill gives you $100 off on their logo design page.
[fancythemes-notification color=orange]Featured Download: 3 Ways to Get More From Your Content Upgrades[/fancythemes-notification]
How to Actually Create and Deliver Your Content Upgrade
There are many ways to create and deliver your upgrade, but I’ll explain the simple process I use.
Note: Some of this process assumes you’re using WordPress! If you’re not, things may be a little different for you, but still relevant.
Step #1: Create the Upgrade.
Creating the upgrade is a pretty simple process. All you need is Microsoft Word or Google Docs.
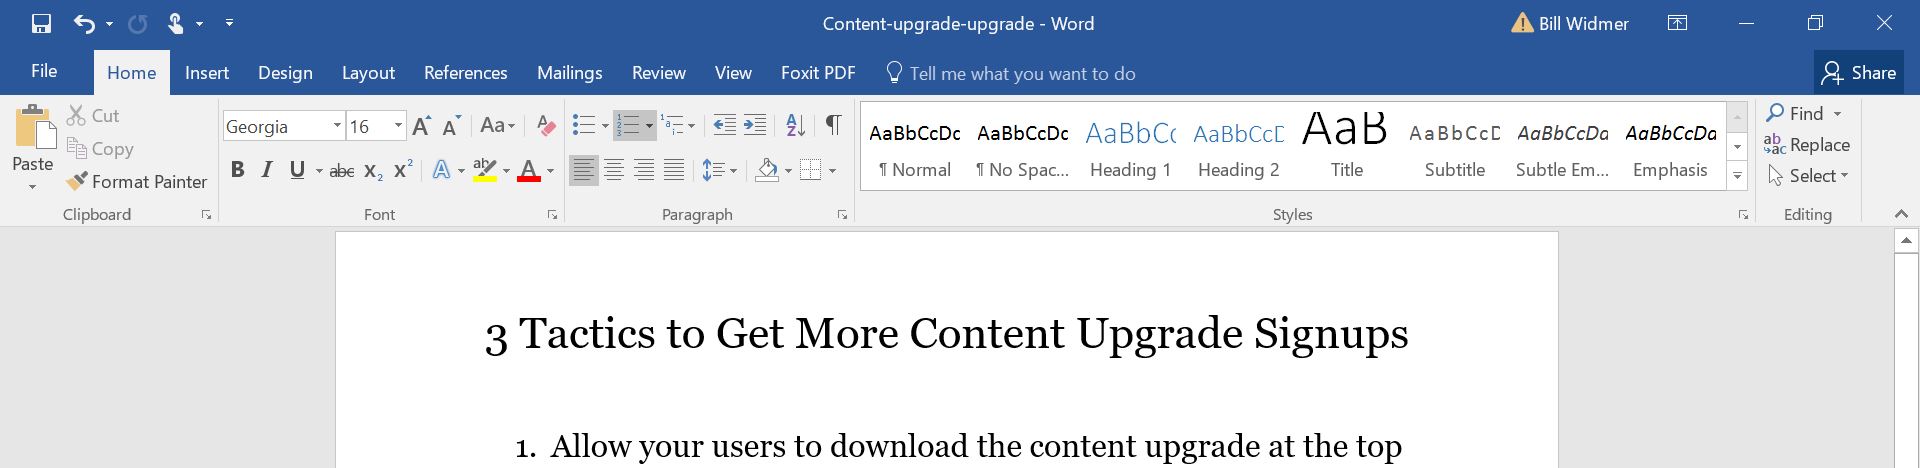
Here’s a sneak peak at me creating the content upgrade for this post!
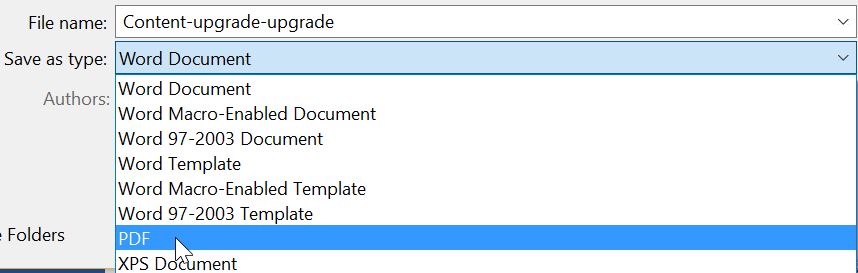
Once you’ve created your content upgrade in a document, just save it as a PDF.
Viola! You now have a content upgrade.
Step #2: Upload It to Your Content Management System (CMS).
Now just go to your WordPress (WP) backend and go to Media -> Add Media.
(If you don’t use WordPress, find where you can upload media files.)

Once you’ve added it to your CMS, find the link that leads to it. For WP, go to “Library” (just above the “Add New” in the image above).
From there, locate and click on your new PDF to find the URL that points to it.

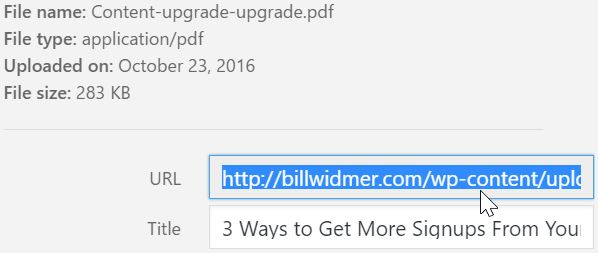
You now have the URL that leads to your content upgrade!
Now, it’s time to give your visitors a way to download it.
Step #3: Use Mailchimp to Create a Form.
You can create a free MailChimp account.
Once you’ve done that, create a list specifically for your content upgrade. Go to Lists -> Create List, then fill out the form.
Next, go to your list by clicking on it, then click Signup Forms -> Embedded Forms.
Fill out the information to your liking, then copy the code and use the text editor in WordPress to embed it on your site where you want it by pasting the code. Easy as that!
Step #4: Create an Autoresponder.
In order to deliver the content, you need to create an autoresponder. You can do this for free in MailChimp by going back to your list, then going to Signup Forms -> General Forms.
From there, hit the dropdown box that says “Signup Forms” under Forms and response emails.
Select Final Welcome Email. Check the box to turn them on, then create your final welcome email and include a link to your content upgrade!
It doesn’t have to be anything fancy. Here’s the autoresponder when people sign up for my free cheat sheet on the 7 proven steps to landing guest posts:
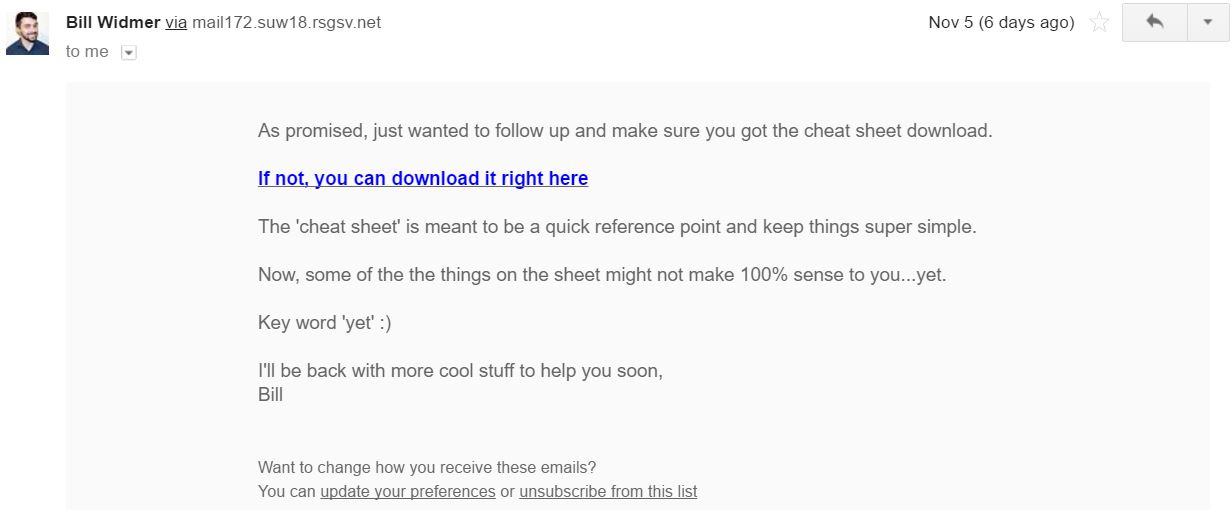
Prescribe to KISS: Keep it super simple!
Now, every time someone signs up to receive your content upgrade, they’ll get this email with a link to the content. Easy, right?
3 Ways to Get the Most Sign-Ups From Your Upgrades
This wouldn’t be a proper guide without an example, would it?
Featured Download: 3 Ways to Get More From Your Content Upgrades
I hope you’ve found this guide useful! If you have any questions, feel free to leave a comment below or contact me.
Read Next: How to Create a Content Marketing Editorial Calendar